Vapor Barrier Repair Services Overview
Visitors will learn how local contractors handle vapor barrier repair services and how to compare options in their area.
- - Residential property owners seeking to repair or replace vapor barriers in basements or crawl spaces.
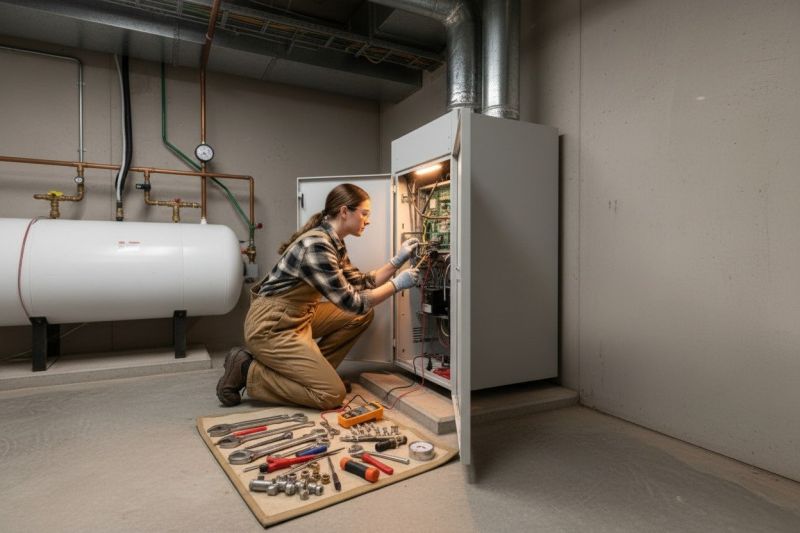
- - Commercial building managers needing to address moisture issues related to vapor barrier systems.
- - Property restoration professionals looking to connect with local contractors for vapor barrier repairs.
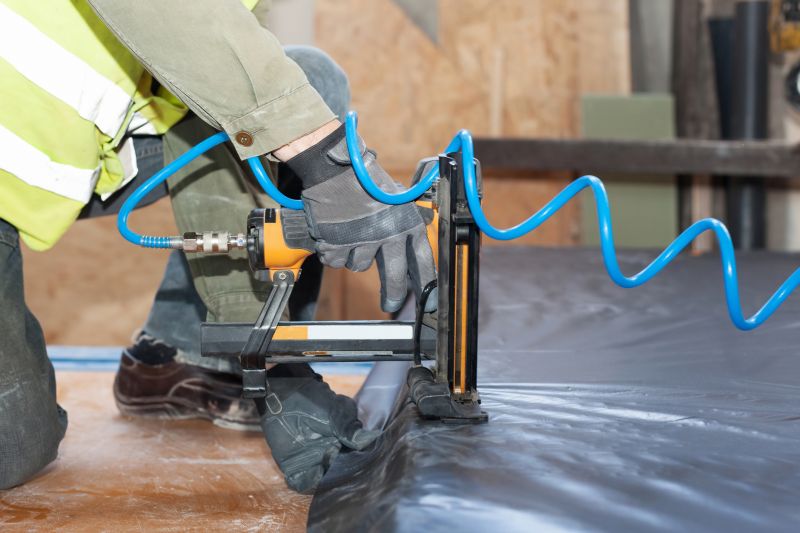
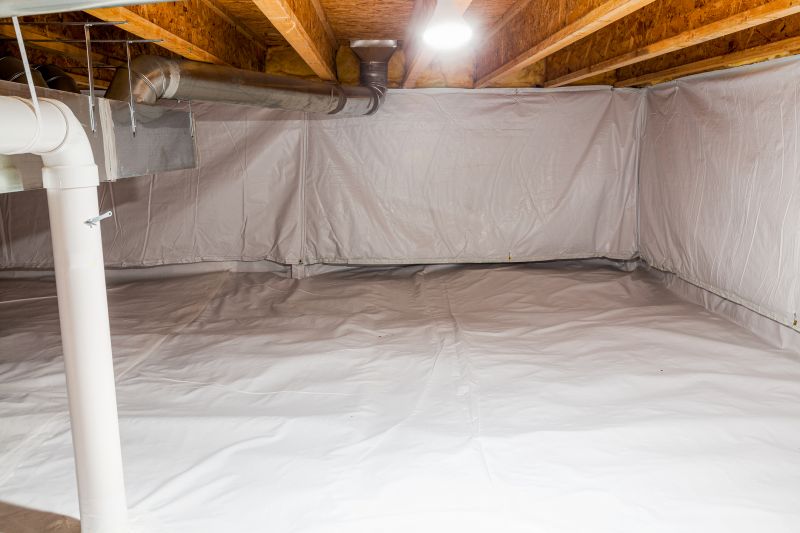
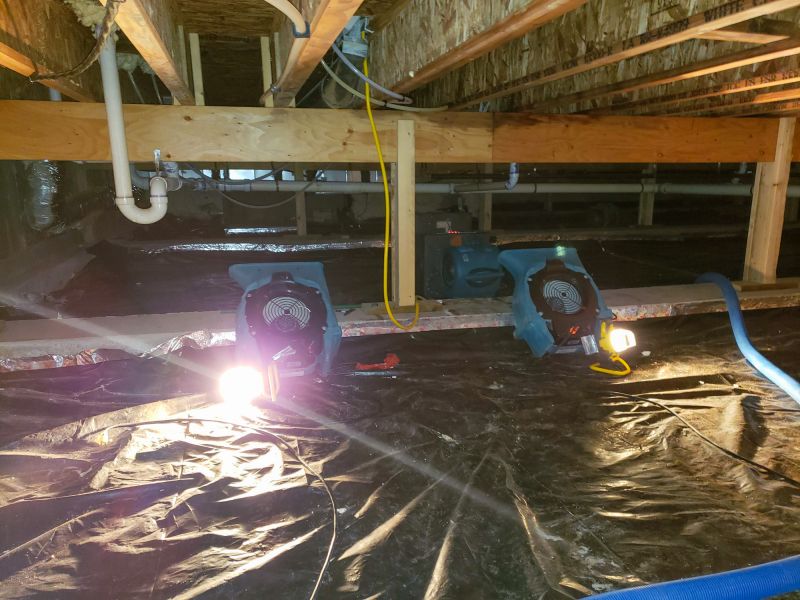
Vapor barrier repair services are essential for property owners experiencing issues with moisture buildup, mold growth, or damage caused by compromised vapor barriers. These professionals handle installations, repairs, and replacements of vapor barriers typically found in crawl spaces, basements, or attics. When a vapor barrier fails or becomes damaged, it can lead to increased humidity and structural concerns, making the expertise of local contractors crucial for restoring proper moisture control. Property owners seeking these services can expect knowledgeable local service providers to assess the situation, recommend appropriate solutions, and perform the necessary repairs to help maintain a healthier indoor environment.
Local contractors specializing in vapor barrier repair often work with a variety of property types, from residential homes to commercial buildings. They are experienced in identifying common issues such as tears, improper installation, or deterioration over time. These service providers focus on delivering practical solutions tailored to each property’s needs, ensuring that the vapor barrier functions effectively once repairs are completed. Connecting with local pros allows property owners to compare options and find the right fit for their vapor barrier repair needs, helping to protect their property from ongoing moisture-related problems.
This guide provides helpful information to understand vapor barrier repair needs and considerations. It assists in comparing local service providers so homeowners can find the right fit for their project. The content aims to prepare visitors to communicate effectively with local contractors about their vapor barrier repair needs.